 When you travel somewhere for the first time, doesn’t it seem to take a little bit longer to get there than it does to return home? Whether it is unfamiliar surroundings, difficulty reading the map or the GPS isn’t up to date, it can be frustratingly slow to travel to new places.
Think of your online course as that new destination for your students. How would they describe their navigation experience? Would they say that once they travel into your course that it is difficult to find their way back? Would they say that the course links were easy to find and use? Would they be frustrated trying to make it to their “destination”?
Even when we try to organize the course so it is organized into more digestible “chunks” for the students, we can make it hard to maneuver. Imagine a student lost in a Escher print of folders within folders within folders.
Connecting your course by organizing, clearly naming your navigation elements and providing an “escape route” will save your students and ultimately you time when putting together your online course.
Below are steps you can take to connect your course and save time for you and your students:
- Use Dividers and Subheaders to visually organize your course’s navigation menu
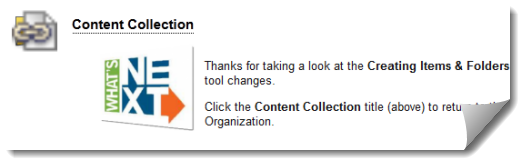
- Append the text (Click the title above to Open) on descriptions for folders, learning modules, lesson plans, web and course links.

- Make the content item Blue if you want your students to click it
- Chunk your course content as you would teach it in your face-to-face course. For example: Put all Chapter content in chapter folder with different sub-folders for each chapter.
- Provide an Escape Route by placing a Course Link at the bottom of a unit of study so that the student can navigate back to where they were before easily.


Leave a comment